July 02, 2015
While Swift is quickly gaining popularity there’s are still tons of great bits of code only available in Objective-C that you might want to use in your project. Today we’ll figure out how to use an Objective-C class in a Swift project. We’ll do it first by importing the files into the project manually, then we’ll do it using CocoaPods.
This tutorial has been updated for Swift 2.0, Xcode 7, and DZNEmptyDataSet 1.7.2.
Our Motivation
An empty tableview is an ugly thing. A nice solution is to show the user an informative message, maybe with a button to take an appropriate action, when you don’t have any data to show in a tableview. You could roll your own solution for that but there’s already a great one called DZNEmptyDataSet. Here’s what it’ll look like when we’re done:
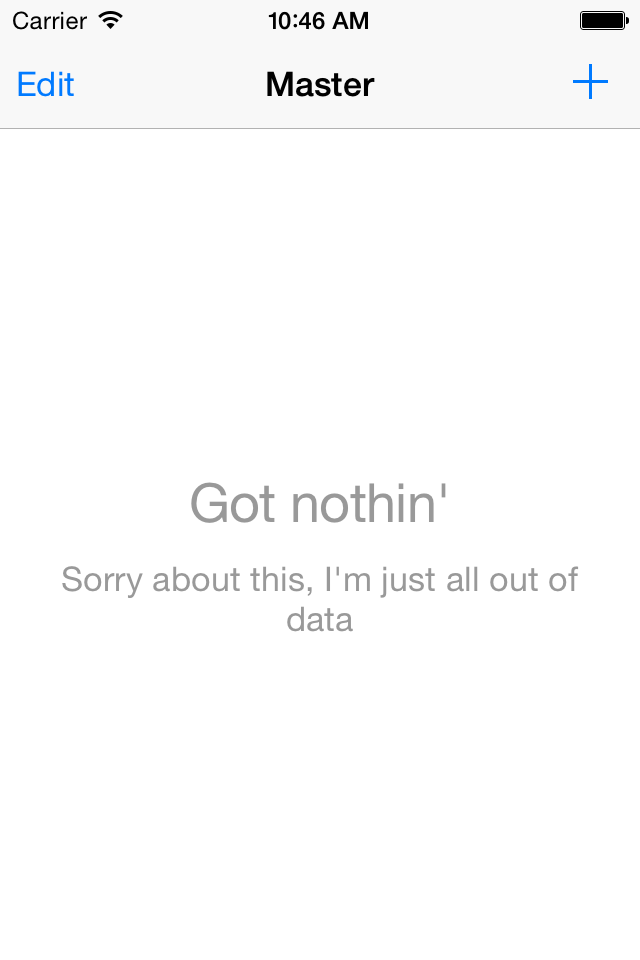
But we’re working in Swift and DZNEmptyDataSet is in Objective-C. Fortunately interop between Objective-C and Swift isn’t difficult.
Importing Code Manually
First we’ll do it by importing the code files manually, then we’ll show how it could be done quicker & easier with Cocoapods.
You’ll need to download the DZNEmptyDataSet files. Clone the repo so you have a local copy of the files:
git clone git@github.com:dzenbot/DZNEmptyDataSet.git
(If you don’t have git set up already, I strongly recommend it. If you really don’t want to right now then head over to GitHub and download the zip file.)
Then fire up Xcode and create a new Master-Detail Project. We’re using a Master-Detail project since it comes with a UITableView already set up so we won’t have to retype all of that boilerplate.
Now we need to add the Objective-C files to our new Swift project. It’s as easy as just dragging them in to the project organizer (the files are in DZNEmptyDataSet/Source):

You’ll get a pop-up asking if you want Xcode to generate a bridging header. Choose “Yes”, you’ll need one to be able to refer to the Objective-C class in Swift code. If this were a pure Objective-C project then you wouldn’t need a bridging header.
Using the Objective-C Class
Open up the MasterViewController.swift file. It’ll be full of a bunch of boilerplate that mostly just displays a tableview (which is empty since nothing has been added to the objects array). You can save & run at this point to see what it looks like before we add DZNEmptyDataSet:
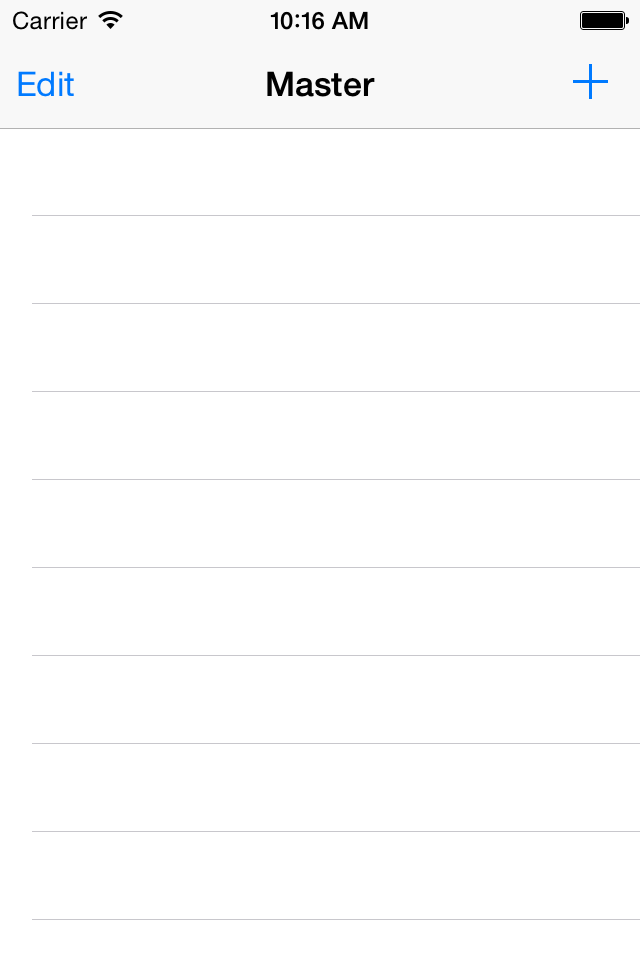
If you don’t want to see all of the empty cells, you can make an easy tweak to the MasterViewController:
override func viewDidLoad() {
    super.viewDidLoad()

    self.tableView.tableFooterView = UIView()
    ...
}
That’ll cause a footer view to be added to the table view, which will stop it from showing a bunch of empty cells (even if the footer’s height is 0). You’ll need this tweak so that the DZNEmptyDataSet view is visible instead of the empty cells:

Now we want to use DZNEmptyDataSet. According to the README on GitHub we have to take a few steps:
- Say that our class conforms to two protocols:
DZNEmptyDataSetSource, DZNEmptyDataSetDelegate - Assign the emptyDataSetSource & emptyDataSetDelegate when the table view is created
- Clear the emptyDataSetSource & emptyDataSetDelegate when the table view is deallocated
- Implement at least one of the methods to display text or an image when the table view has no data to display.
- Tell the table view controller when the empty data set display might need to appear or disappear
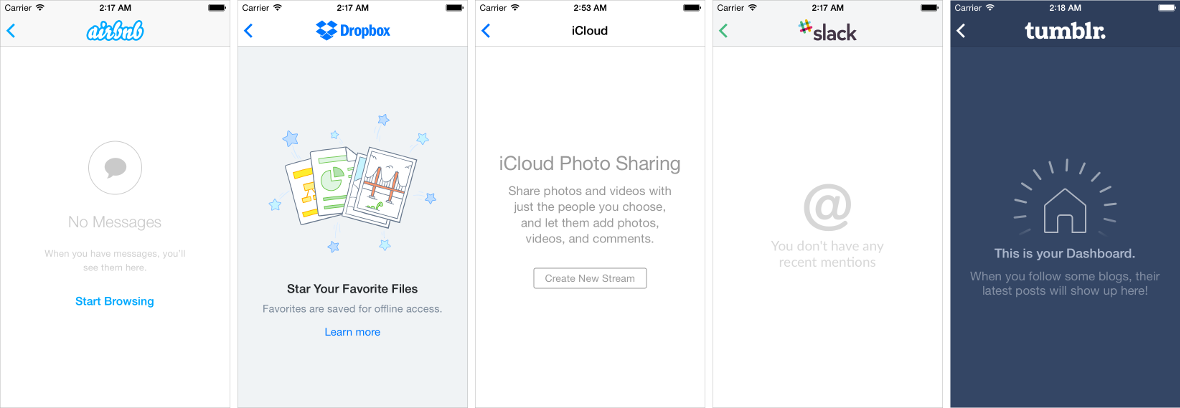
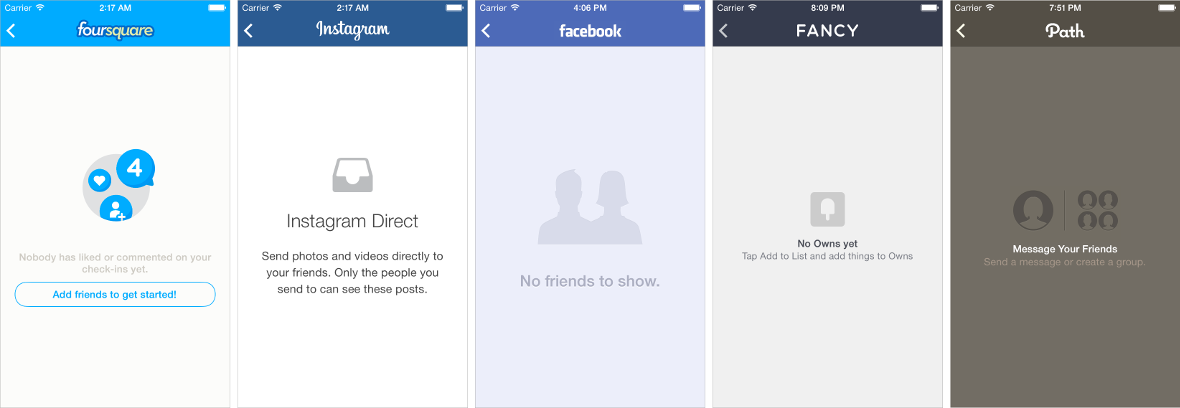
Read through the documentation on GitHub or check out the sample projects if you want to do something a bit different. DZNEmptyDataSet has lots of options:
Saying that our class conforms to two protocols
In Objective-C we would add the protocols to the class declaration like so:
@interface MainViewController : UITableViewController
In Swift we can use a class extension to keep the code more organized. So at the bottom of MainViewController.swift (after the closing bracket for the class declaration) add:
extension MasterViewController: DZNEmptyDataSetSource, DZNEmptyDataSetDelegate
{
}
So you end up with a file like:
import UIKit

class MasterViewController: UITableViewController
{
  // some Xcode boilerplate

  override func viewDidLoad() {
    super.viewDidLoad()

    self.tableView.tableFooterView = UIView()
    ...
  }

  // all the rest of the Xcode boilerplate here
}

extension MasterViewController: DZNEmptyDataSetSource, DZNEmptyDataSetDelegate
{
  // code for DZNEmptyDataSet goes here
}
Assigning the emptyDataSetSource & emptyDataSetDelegate when the table view is created
The README shows an examples of assigning the emptyDataSetSource & emptyDataSetDelegate for your table view but it’s in Objective-C so we’ll have to translate:
- (void)viewDidLoad
{
    [super viewDidLoad];

    self.tableView.emptyDataSetSource = self;
    self.tableView.emptyDataSetDelegate = self;

    ...
}
In Swift we’ll add two lines to the viewDidLoad function that Xcode generated:
override func viewDidLoad() {
    super.viewDidLoad()

    self.tableView.emptyDataSetSource = self
    self.tableView.emptyDataSetDelegate = self
Clear the emptyDataSetSource & emptyDataSetDelegate when the table view is deallocated
It’s good practice in general to clear our delegate and data source assignments when your class is destroyed. The DZNEmptyDataSet documentation also notes that it should definitely be done. The Objective-C example code looks like this:
@interface MainViewController : UITableViewController

- (void)dealloc
{
    self.tableView.emptyDataSetSource = nil;
    self.tableView.emptyDataSetDelegate = nil;
}
In Swift, add the following to the main class declaration (not the class extension):
deinit {
    self.tableView.emptyDataSetSource = nil
    self.tableView.emptyDataSetDelegate = nil
}
Implement at least one of the methods to display something when there’s no table view data
We’ll use two of the text display functions to display a title and descriptive text. In Objective-C we would use:
- (NSAttributedString *)titleForEmptyDataSet:(UIScrollView *)scrollView
{
    return [[NSAttributedString alloc] initWithString:@"Got Nothin'" attributes:nil];
}

- (NSAttributedString *)descriptionForEmptyDataSet:(UIScrollView *)scrollView
{
    return [[NSAttributedString alloc] initWithString:@"Sorry about this, I'm just all out of data" attributes:nil];
}
So in your Swift file add the equivalent to your class extension:
extension MasterViewController: DZNEmptyDataSetSource, DZNEmptyDataSetDelegate
{
  func titleForEmptyDataSet(scrollView: UIScrollView!) -> NSAttributedString! {
    return NSAttributedString(string: "Got Nothin'")
  }

  func descriptionForEmptyDataSet(scrollView: UIScrollView!) -> NSAttributedString! {
    return NSAttributedString(string: "Sorry about this, I'm just all out of data")
  }
}
Importing Objective-C for Use in Swift
Now if you try to save & run you’ll get a stack of errors like:
MasterViewController.swift:110:33: Use of undeclared type 'DZNEmptyDataSetSource'That’s because while we did generate the bridging header we didn’t actually put anything in it:
//
//  Use this file to import your target's public headers that you would like to expose to Swift.
//
Unlike Objective-C where you’d import the class where you want to use it, in Swift we can just import to the bridging header and the class will be available to all of our Swift classes. So add the Objective-C import statement to the bridging header:
//
//  Use this file to import your target's public headers that you would like to expose to Swift.
//

#import "UIScrollView+EmptyDataSet.h"
Now save & run. You should see your title and description:

There’s a pretty big bug though. If you add rows to the table view by tapping the + button in the top right corner the empty data set message is still displayed. We need to tell the tableview controller when to check if that message should be displayed.
Tell the table view controller when the empty data set display might need to appear or disappear
There are two points in the Xcode boilerplate where objects are added or removed from the tableview: when you tap on the + button and when you delete a row in Edit mode. At each of these points we need to refresh the empty data display. We could just tell the whole tableview to reload everything:
self.tableView.reloadData()But that’s overkill since the table view controller is already handling adding & removing rows. So we can just tell it to reload the empty data display:
self.tableView.reloadEmptyDataSet()So let’s add that line to our code where a row gets added:
func insertNewObject(sender: AnyObject) {
  objects.insert(NSDate(), atIndex: 0)
  let indexPath = NSIndexPath(forRow: 0, inSection: 0)
  self.tableView.insertRowsAtIndexPaths([indexPath], withRowAnimation: .Automatic)
  self.tableView.reloadEmptyDataSet()
}
And where a row gets deleted:
override func tableView(tableView: UITableView, commitEditingStyle editingStyle: UITableViewCellEditingStyle, forRowAtIndexPath indexPath: NSIndexPath) {
  if editingStyle == .Delete {
    objects.removeAtIndex(indexPath.row)
    tableView.deleteRowsAtIndexPaths([indexPath], withRowAnimation: .Fade)
    self.tableView.reloadEmptyDataSet()
  } else if editingStyle == .Insert {
    // Create a new instance of the appropriate class, insert it into the array, and add a new row to the table view.
  }
}
Now save & run. You should be able to add rows with the + button and see the empty data set message disappear. Switch to Edit mode and delete your rows then the empty data set message should come back.
That’s all for adding the files manually. Now let’s integrate the Objective-C using CocoaPods instead.
What About CocoaPods?
What if we used cocoapods to get DZNEmptyDataSet instead of cloning the repo locally?
After creating a Master-View project, add DZNEmptyDataSet using cocoapods:
Create a Podfile using
pod initin the same directory as your Xcode project (If haven’t installed cocoapods yet you’ll need to runsudo gem install cocoapodsfirst.)Modify the Podfile to include DZNEmptyDataSet:
platform :ios, '8.0'
use_frameworks!

target 'objcInterop' do
  # Pods for objcInterop
  pod 'DZNEmptyDataSet'

  target 'objcInteropTests' do
    inherit! :search_paths
    # Pods for testing
  end

end
Then run
pod installOpen the
.xcworkspace
Then make the changes like above to the MasterViewController (or grab it from here: MasterViewController.swift).
And if you try to save & run you’ll get errors like:
MasterViewController.swift:110:33: Use of undeclared type 'DZNEmptyDataSetSource'Which means the Swift code can’t see the Objective-C class. You might think we need to add a bridging header but CocoaPods has done something neat. Since we included use_frameworks! in our Podfile the Objective-C code has been packed up as a framework. So we don’t need a bridging header, we can just import the Objective-C class into our Swift class:
import UIKit
import DZNEmptyDataSet

class MasterViewController: UITableViewController
{
  ...
}
Save & run and all the errors should be gone.
And That’s All
So that’s how to use Objective-C code in a Swift project. You can use it to maintain old Objective-C projects in Swift or to take advantage of the tons of existing Objective-C code available.
If you’d like more Swift tutorials like this one, sign up below to get them sent directly to your inbox. Feel free to come back and visit too, we’re pretty friendly around here but we’ll understand if it’s just easier for us to come to you :)
 Grok Swift