 Grok Swift
April 07, 2015
Eventually you’ll run into a designer who insists that the stock iOS fonts aren’t quite right for your app’s design. They’ll probably be right. Including fonts in iOS apps has gotten a lot easier in iOS8 since you can now preview them in your xibs & storyboards in Interface Builder.
First we’ll add the custom font to the Xcode project so we can use it in Interface Builder. Then we’ll set up the custom font programmatically in Swift code. We’ll programmatically set the font size based on the preferred font size that the user has selected in Settings.
This tutorial has been updated to Swift 2.0 and Xcode 7.
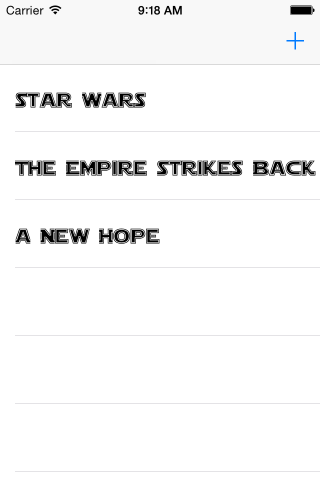
If you want to type along, we’ll start with the code from a previous post: UITableView Updates. It’s a simple project that shows a list of the Star Wars movie titles, along with adding & removing some of them.
The final code is available on GitHub
Adding Custom Fonts to Xcode Projects
First you need a font to use. Grab the Star Jedi fonts by Boba Fonts.
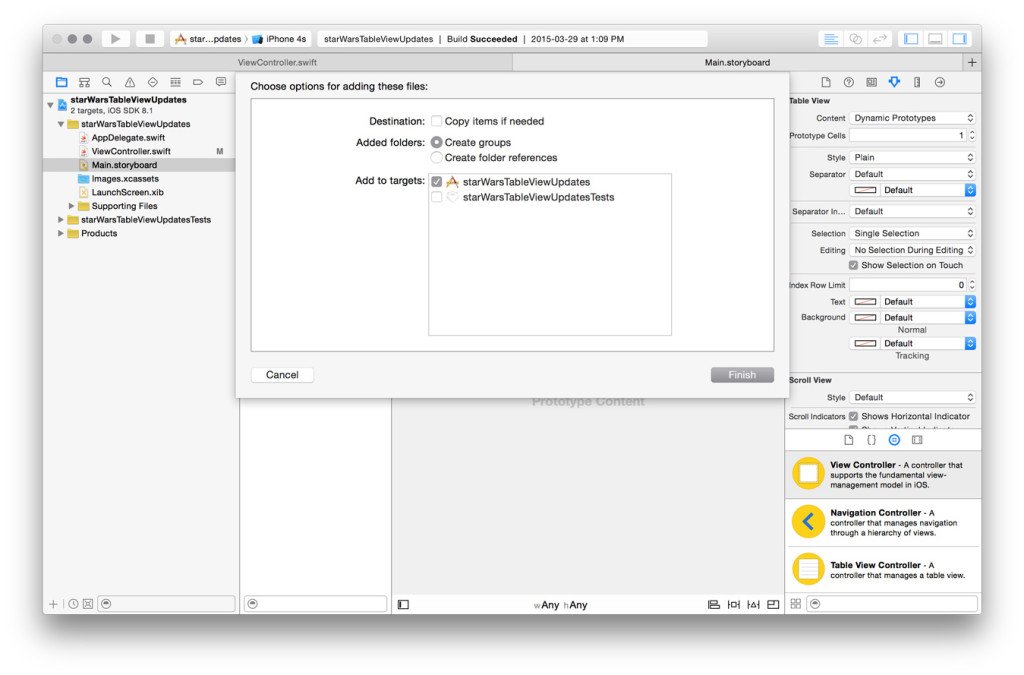
Unzip the fonts then drag & drop the font file (otf or ttf) into your project. I used the STJEDIST.TTF font in the stjedise folder and the Starjout.ttf font in the starjout folder. Make sure you check the box next to your target or the font won’t actually get included in your app (even though it’ll probably show in Interface Builder).
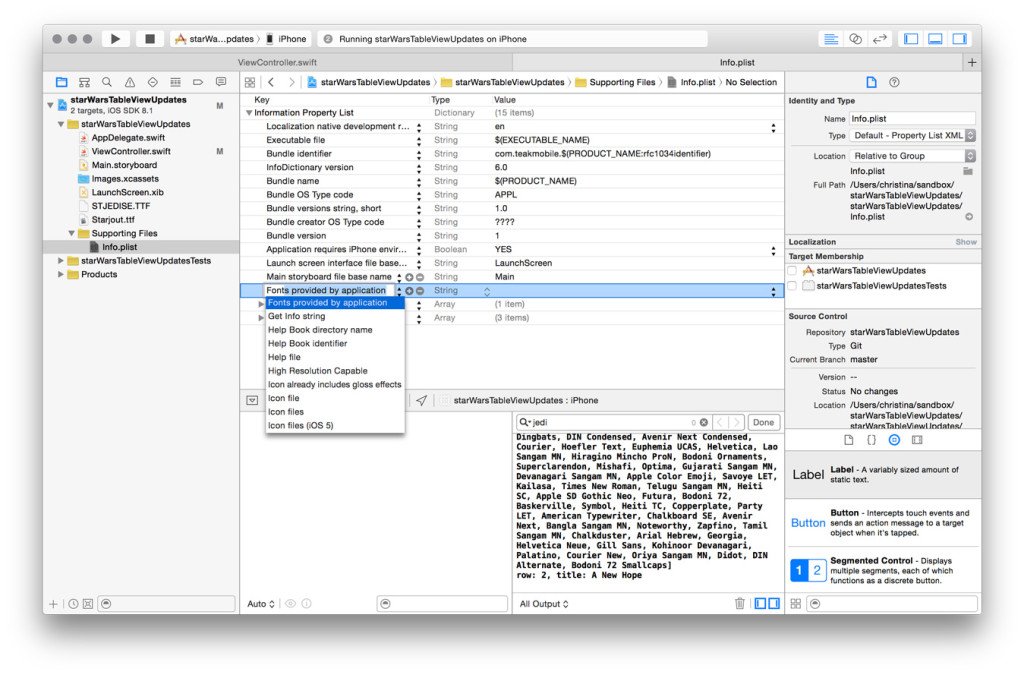
Now you’ll want to make sure that your project knows you’ve included the fonts. I’m not sure why this step is necessary for fonts but not for images (and even fonts in IB seem to work without it sometimes). You’ll need to specify the fonts in your target’s plist.
So open up the Info.plist (it’s in the Supporting Files folder). Add a new array of strings to it: “Fonts provided by application”. Add the filenames for each font you want to use as String entries in the array. I’ve added Starjout.ttf and STJEDISE.TTF

Using Custom Fonts in Interface Builder
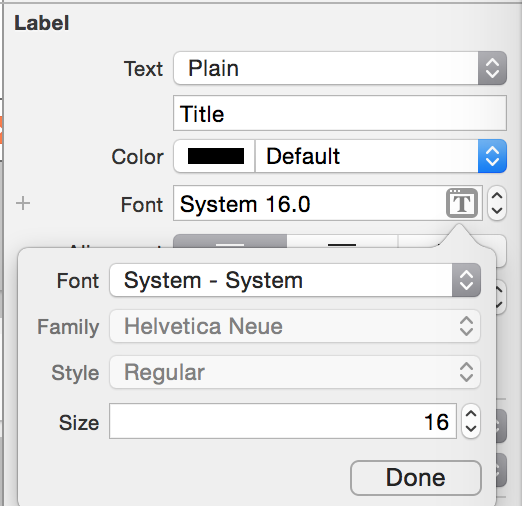
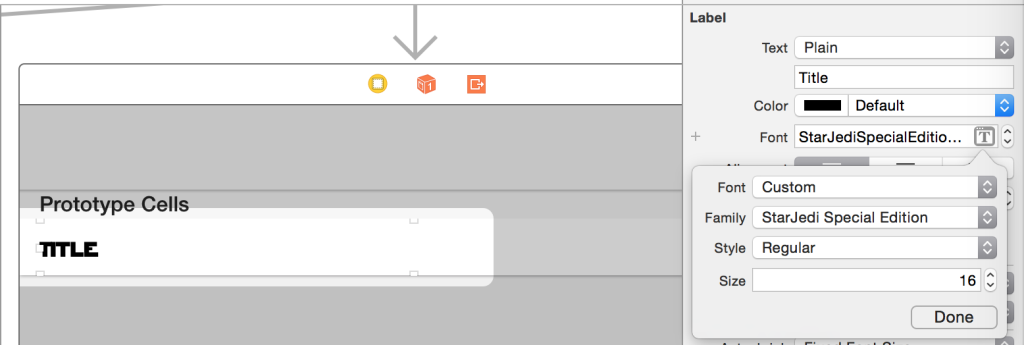
Now the font will be available in Interface Builder. Open up your main storboard and select the title label in your prototype tableview cell.
In the right panel, open up the font dialog. It’ll show that you’re currently using the default System font.
Switch the font type to custom (from System).

Then switch the font name from Helvetica Neue to the Star Jedi font.
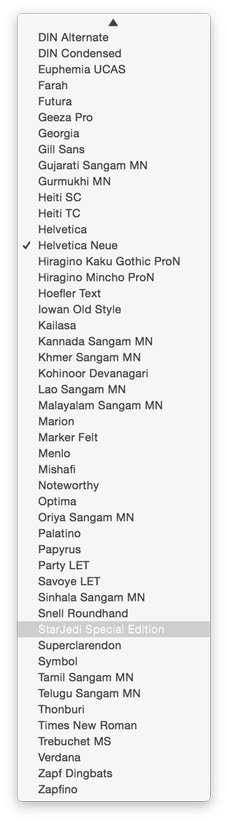
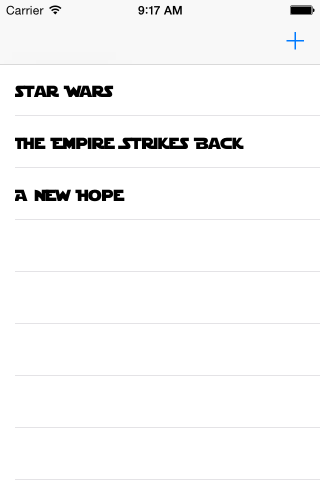
Now you’ll see the font displayed in Interface Builder :)
You can build & run to make sure it’s working as you add & remove tableview cells.
Using Custom Fonts in Swift Code
Alternatively, we could set the custom font in code. We’ll use the outline version of the font, Starjout.tff, so double-check that you’ve dragged it into the project and included it in the plist.
To use a custom font we need to refer to it by name. But the name often isn’t the same as the font’s filename. There are 2 ways to find the name:
- Install the font on your Mac. Open Font Book, open the font and see what name is listed.
- Programmatically list the available fonts in your app
We’ll use the second approach. Fonts are grouped as font families (usually one family per ttf or otf file). Families can contain multiple fonts. To get a list of all of the available font families:
println(UIFont.familyNames())
You can stick in the app delegate’s didFinishLaunchingWithOptions so it’ll be run when the app starts up.
In the list that gets printed out you’ll see “Star Jedi Outline” included.
To list the fonts included in each font family:
for name in UIFont.familyNames() {
  println(name)
  if let nameString = name as? String
  {
    println(UIFont.fontNamesForFamilyName(nameString))
  }
}
Using those tricks, we can see that our font is called “StarJediOutline”.
To use the font in code, we just need to create a font object and set it for the label. In ViewController.swift, in the cellForRowAtIndexPath function, add:
cell.textLabel?.font = UIFont(name: "StarJediOutline", size: 16)
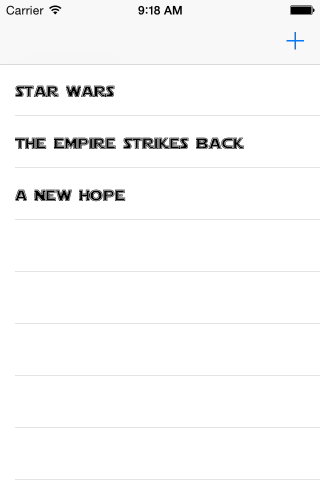
Save & run. Your movie titles should now have an outline :)
Programmatic Preferred Font Sizes
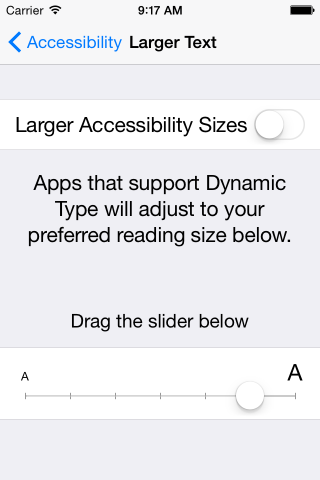
iOS uses can now set a preferred font size in the Settings app (General -> Accessibility -> Larger Text). It’s really nice if our apps use it. Tableviews set up in Interface Builder usually do but our custom code won’t since it’s explicitly setting the font size to 16.
What we need is to find out what font size they’ve asked for and apply it to our custom font. We can get their preference as a font descriptor:
UIFont.preferredFontForTextStyle(UIFontTextStyleHeadline)A font descriptor is an array of attributes that describes a font. So we’ll grab the desired font size from it:
preferredDescriptor.pointSizePulling that together to apply it to our custom font:
let preferredDescriptor = UIFont.preferredFontForTextStyle(UIFontTextStyleHeadline)
var font = UIFont(name: "StarJediOutline", size: preferredDescriptor.pointSize)
cell.textLabel?.font = font
Change the preferred font size in Settings and re-run the app. You should see the tableview cells and the text get larger.
And That’s All About Swift Custom Fonts
We’ve added custom fonts to our project and used them in Interface Builder and in code. We’ve also handled the user’s preferred font size. So go forth and build beautiful interfaces (oops, wrong sci fi world).
If you’d like more Swift tutorials like this one, sign up below to get them sent directly to your inbox. Feel free to come back and visit too, we’re pretty friendly around here but we’ll understand if it’s just easier for us to come to you :)